
My latest cardboard sprang frame has holes punched on the side so I can adjust the size by moving the sheets of cardstock. A piece of string holds the position and rubber bands help prevent it from flopping. This is adjusted about 13 inch long.

Here is the frame with a warp on it. The red yarn on the bottom helps hold the yarns in position.

Here the sprang completely covers one side of the frame. The frame was adjusted to about 12 inch. See the red cord that holds the yarn position from the beginning.

This is the other side where the two sprang rows are coming together. With about 7 inch to go, I divide the sprang into two columns which will form the handles.
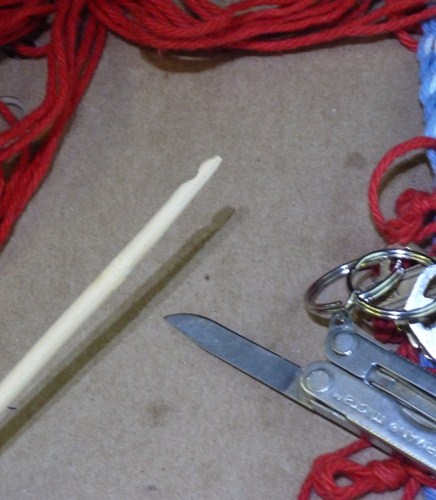
As the sprang gets closer and tighter it is difficult to get my fingers in the sprang so I used a chopstick to work the yarns. I put a little groove in it and tapered the point. (Shout out to Umeko Buffet, Chinese & Japanese Food)

I used red yarn so you can see how I sewed up the sides. I also used yarn to close the sprang at the bottom and at the top of the handles.

The bag is big enough to hold a water bottle. The yarn ends will be tied off and cut. I was testing an idea for a little bag that had it's own handles that could be made on a the cardboard frame. And no cutting!
Have a good day!
EDITED TO ADD: My recent sprang activity was inspired by the release of Carol James' book:
"Sprang Unsprung: An Illustrated Guide to Interlinking, Interlacing and Intertwining."
1 comment:
Thank's its a very nice idea and technic
Post a Comment